Dip Nail Designs for Valentine's Day: A 2025 Guide
Ready to ditch the same old Valentine's Day nail designs? This year, let's create something fresh, fun, and totally you! We're ditching boring hearts and predictable pinks for dip powder designs as unique as your love story. Get ready to unleash your inner nail artist! Whether you're a seasoned pro or a complete beginner, we'll guide you through each design step-by-step, with all the tips and tricks to get salon-quality results at home. Let's create some amazing nail art together!
Don't just dream it, do it! This year, Valentine's Day nail art is all about personalization. Isn't it amazing how the perfect manicure can completely transform your mood? Did you know that a recent study showed 85% of women feel more confident with a fresh manicure? Let's make this Valentine's Day extra special!
Romantic Reds and Pinks: A Modern Twist
Classic Valentine's Day colors are always a winner, but let's give them a 2025 upgrade! We’re thinking beyond basic red and pink, adding subtle ombre effects, dazzling glitter accents, or a sophisticated matte finish for a look that's both romantic and modern.
Design 1: Romantic Rose Gold Ombre
This design is effortlessly elegant. The soft blend of rose gold and light pink creates a dreamy, romantic feel perfect for a date night or a cozy evening in. It's the perfect blend of classic and contemporary charm.
What You'll Need: Rose gold dip powder, light pink dip powder, dip powder base coat, dip powder top coat, and your dip powder application kit. (Consider high-quality brands like [Affiliate Link to Dip Powder Kit 1], [Affiliate Link to Dip Powder Brand A - Rose Gold], [Affiliate Link to Dip Powder Brand B - Light Pink])
Step-by-Step:
Prep Your Nails: Cleanse your nails and gently push back your cuticles for a long-lasting manicure. Apply a thin, even layer of base coat. Let it dry completely.
Ombre Magic: Apply the light pink dip powder to the base of your nail, leaving about a third of the nail tip bare. Gradually blend the rose gold dip powder onto the remaining tip, creating a smooth transition between the two colors. A small brush can help with blending.
Seal the Deal: Apply a generous top coat for shine and durability. Let it cure completely.
Design 2: Red Velvet Matte
For a touch of sultry sophistication, nothing beats a deep red matte finish.
What You'll Need: A rich, deep red dip powder, a matte top coat, your dip powder base coat, and your application kit. ([Affiliate Link to Deep Red Dip Powder], [Affiliate Link to Matte Top Coat])
Step-by-Step:
Prep & Prime: Cleanse your nails and apply the base coat. Let it dry completely.
Dip It: Carefully apply the deep red dip powder, ensuring even coverage. Thin, even layers prevent clumping.
Matte Perfection: Finish with a matte top coat for that luxurious, velvety texture.
Minimalist Hearts and Subtle Accents: Less is More
If you prefer a more understated look, subtle accents can be just as stunning. A tiny heart, a delicate stripe, or a shimmering accent nail makes a big impact without being overwhelming.
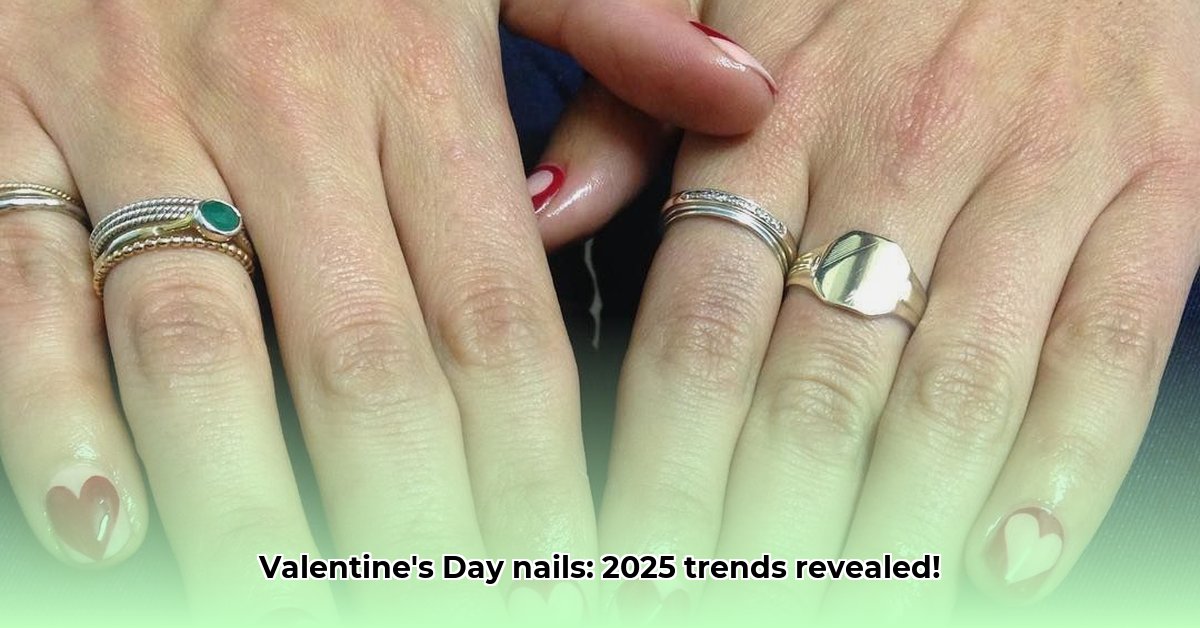
Design 3: Single Heart Accent Nail
This design is incredibly simple yet charming. Perfect for a touch of romance without being too flashy.
What You'll Need: A nude dip powder (a shade close to your natural nail color), a red dip powder, small heart nail art stickers, and a top coat.
Step-by-Step:
Nude Base: Apply the nude dip powder to all your nails. This creates a neutral canvas. Let it dry.
Heart Placement: Carefully apply a single red heart sticker to your accent nail. Ring finger or middle finger are popular choices.
Finishing Touch: Seal your design with top coat for shine and protection.
Playful Textures and Unexpected Hues: Let's Get Creative!
Let’s add some fun and whimsy with glittering textures and unexpected color combinations. Think sparkling glitter, a pop of unexpected color, or a fun, textured finish. Did you know that playful nail art can boost your creativity? It's a fun way to express yourself!
Design 4: Glittery Pink & Gold
Combine the romance of pink with the opulence of gold.
What You'll Need: A light pink dip powder, a gold glitter dip powder, your dip powder base coat, and top coat.
Step-by-Step:
Prepare & Apply Base Coat: Prep your nails and apply the base coat. Let it dry.
Glittery Mix: Gently mix the pink and gold glitter powders in a small container. The proportion is up to you! Apply the mixture to your nails.
Brilliant Finish: Apply a top coat to lock in the sparkle.
Edgy Valentine's Day Nail Art: Embrace the Bold
Feeling bold? Don't shy away from darker shades, geometric patterns, or edgy metallics. Valentine's Day nail art can be sophisticated, glamorous, or edgy – the choice is yours!
Design 5: Black & Red Geometric
This design offers a modern, graphic feel.
What You'll Need: Black dip powder, red dip powder, striping tape, and top coat.
Step-by-Step:
Black Foundation: Apply the black dip powder and let it dry completely.
Geometric Shapes: Use striping tape to create geometric designs on one or two accent nails. Triangles, stripes, squares – get creative! Make sure the tape adheres firmly.
Red Pop: Carefully apply the red dip powder over the exposed sections of the nail. Work with thin layers.
Reveal the Design: Gently remove the striping tape while the red dip powder is still wet to reveal clean lines. Seal with a top coat.
Tips for Dip Powder Perfection: Pro Secrets for Amazing Nails
Nail Prep is Key: Clean, dry nails are crucial for a long-lasting manicure and prevent lifting.
Thin is In: Avoid thick layers of dip powder for a smooth finish. Multiple thin layers are better than one thick layer.
Patience is a Virtue: Allow ample time for each layer to dry before moving on. Rushing leads to imperfections.
Top It Off: Always use a high-quality top coat for protection and shine.
| Design Category | Description | Color Palette | Difficulty Level |
|---|---|---|---|
| Romantic | Subtle ombre, delicate glitter accents | Rose gold, pinks, light reds | Easy |
| Minimalist | Single accent nail, small heart decals | Nudes, pale pinks, one bold color | Easy |
| Playful | Glittery mix, textured finishes, unexpected hues | Brights, glitter, metallics | Medium |
| Edgy | Darker shades, geometric designs, metallic accents | Blacks, deep reds, golds | Medium |
Remember, these are just starting points! Experiment, mix and match elements, add your unique flair, and have fun creating a Valentine's Day manicure you absolutely adore!